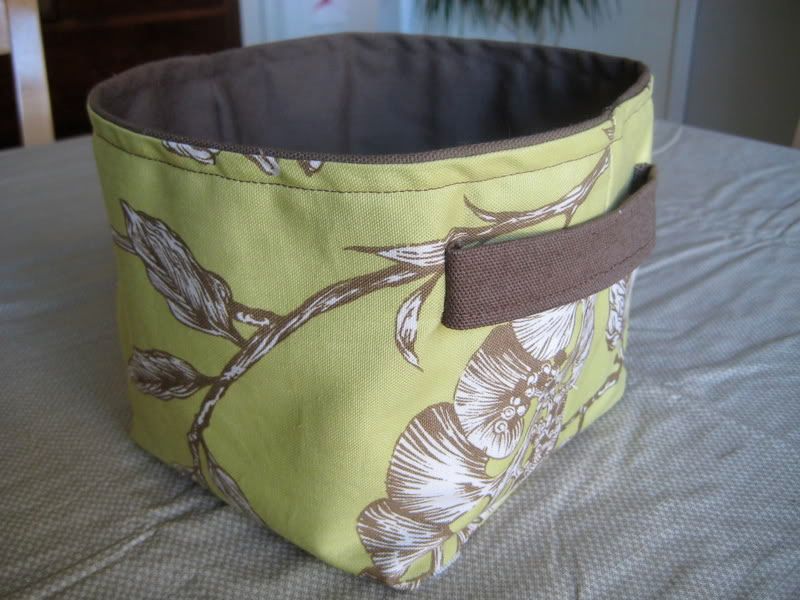
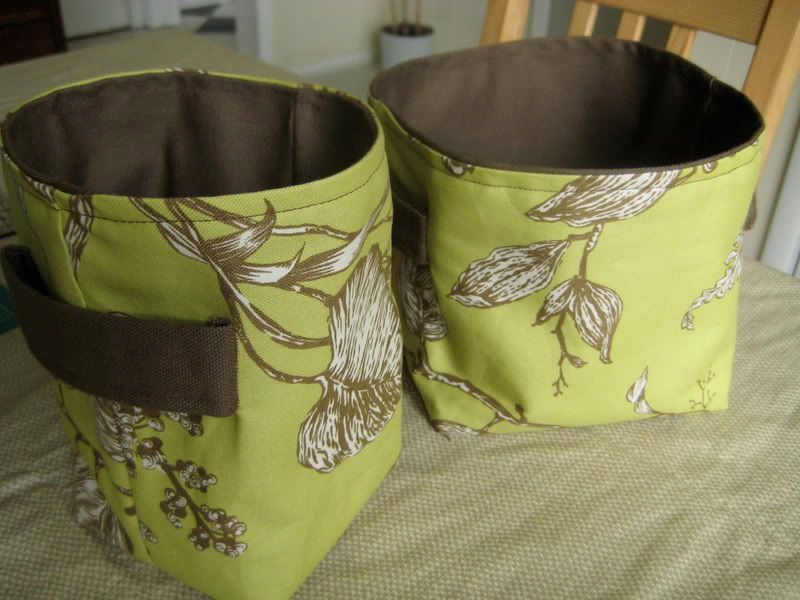
The FO is about 6.5 inches all around (height, width, length).
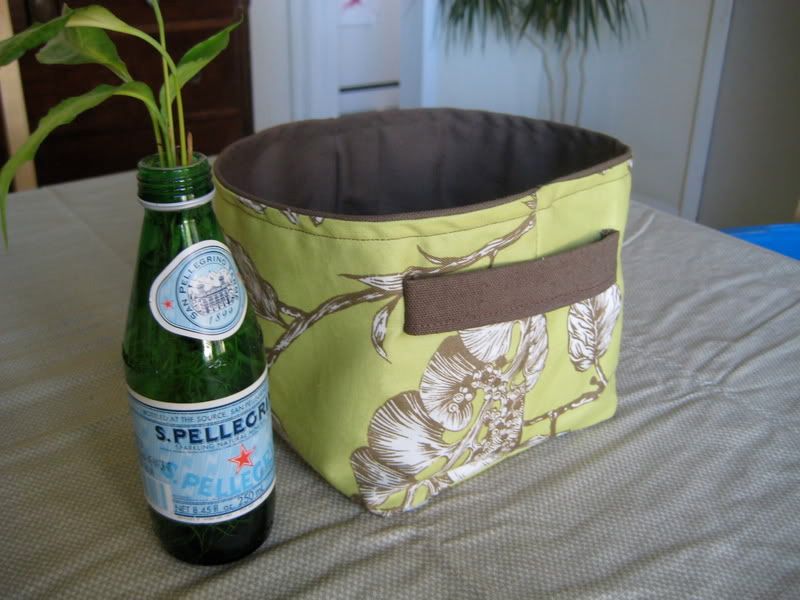
I purchased both the outer and lining fabric for close to nothing at a remnant/outlet store -- woo hoo! (The colors look a little washed out in the photos; It's a light lime/chartreuse and a real chocolatey brown.) I'm thinking about making a set of three, in different sizes using the same fabric.
Now, if only I knew what to put in it. Any ideas?

Here’s the tutorial:
Step1: Cut fabric
Start with a rectangle, folded in half. Measure the cuts by determining how big you want your box to be. To make a six inch box, follow these measurements (Thanks to craftydeb!):
Start with a 12x18 rectangle - folded in to a 12x9 piece*
It breaks down like this:
For the width: 3 + 6 + 3 (the 3's being for the sides)
For the length: 6 + 3 + 3 + 6 (the 3's being for the bottom)
* Don't forget seam allowances.
And for the marvelous metric mavens (again, thanks craftydeb for doin' the math):
for the width - double the cm/in you want it to end up being when all is said and done....
For the length - triple it....
for the square cut out - cut it in half....
So if you want it to be 20cm square.. (just to make a nice round number for the example)
cut your fabric 40cm x 60cm
fold it in half to make a 40x30cm
cut out 10cm squares on the corner to get that "I" shape and then you are off and running!! Again, if you want it to be an EXACT size make sure you add in a seam allowance..
FYI: The bucket I made in this tutorial is a bit taller with a smaller base.

Cut squares out of the corners of the folded edge. For my six-inch box, I cut 3-inch (minus seam allowance) squares.
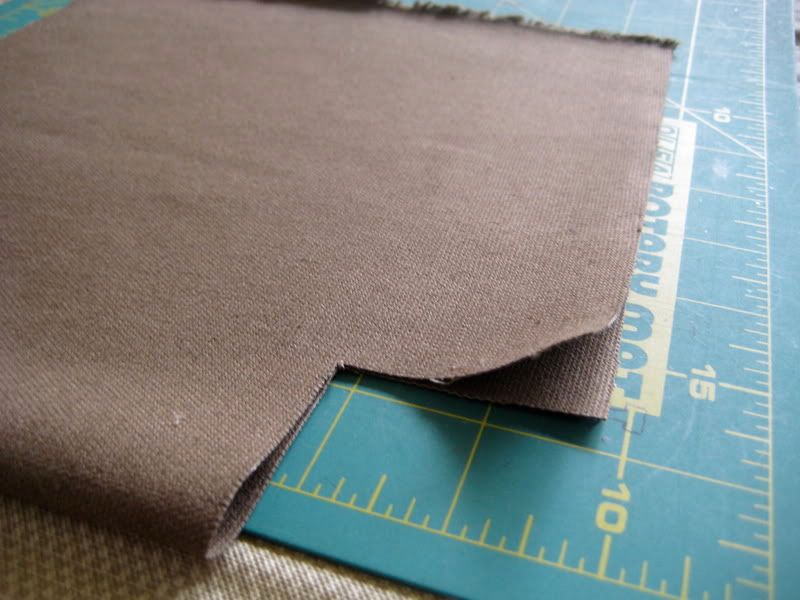
When you unfold the pieces, they look like big “I”s. (This is a good time to press your fabric if you haven't already.)

Step 2: Sew the outer fabric.
Fold the outer fabric piece wrong side out and sew down each of the long sides. Then, pinch the cut corners together and sew straight across (a la Jordy). Doing so gets you this:

Step 3: Sew the lining. Do the same thing you did to the outer fabric, but leave one corner open for turning!
Step 4: Make and attach the handles
For my handles, I cut two 6 x 3.5 inch strips of lining fabric.
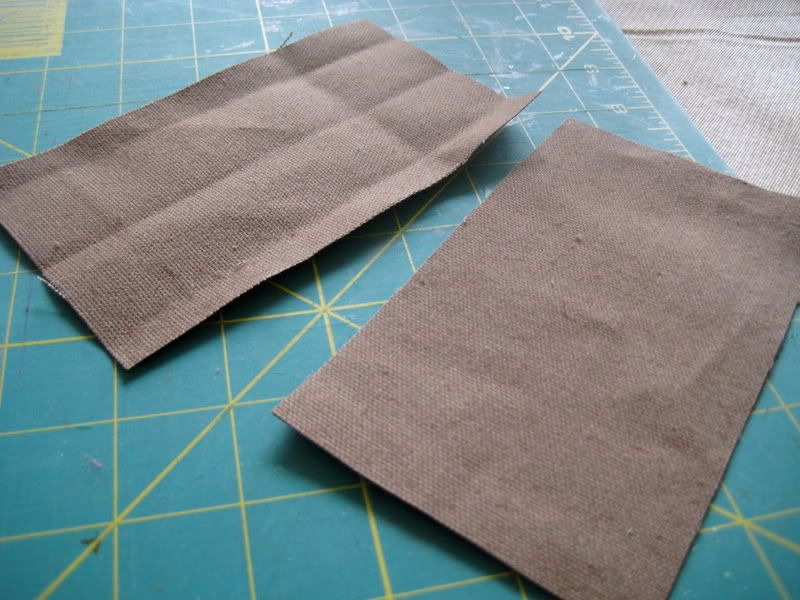
Fold the edges, fold in half, and sew. Pink the edges.
Center the handle on the side of the outer fabric piece. (I put mine on the seam side because it was easier to center it) Using a tight zig-zag stitch, sew one side of the handle to the outer fabric.
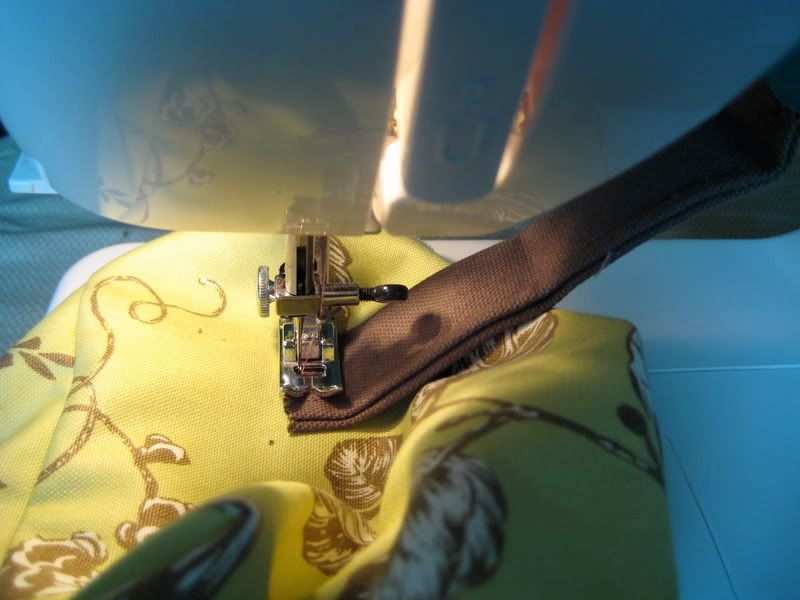
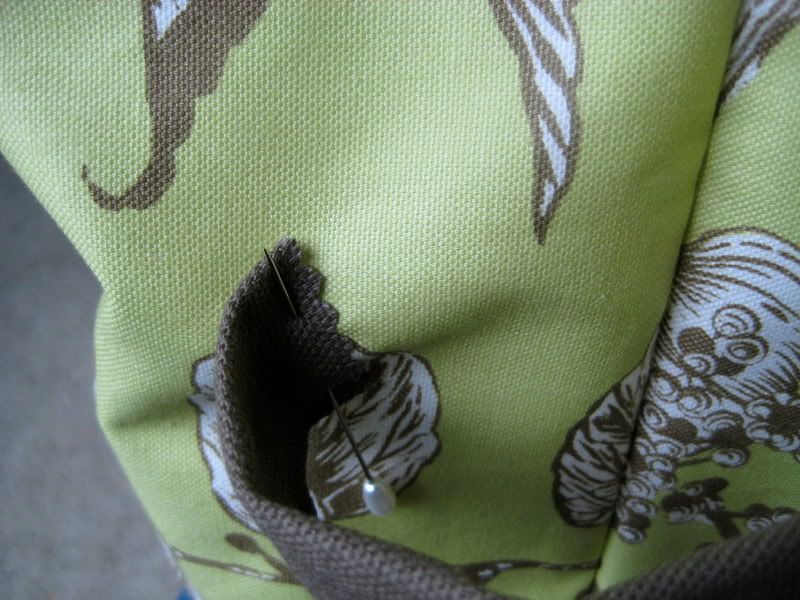
Mark and pin the other side of the handle, and sew. This is a little tricky so be patient. Repeat on the other side.
Step 5: Sew outer piece to lining
With right sides together, lining inside of the outer piece, match edges, pin, and sew.

Turn right side out. Sew open corner of lining closed. Tuck lining into outer fabric, press the seam edge, and stitch around the top to finish.
Bucket Buddies!
If you make one, show it off!
This post is from: http://www.craftster.org/forum/index.php?topic=204022.0
I really liked it because the fabric reminded me of Ziggy's dog bed, which has the identical fabric and color scheme. This bucket seems like it would be suited for holding pet toys


No comments:
Post a Comment